User Guide
How to use Profile Card Maker. The same content is available under the Guide tab in the editor. All work happens in your browser; images are not uploaded to a server.
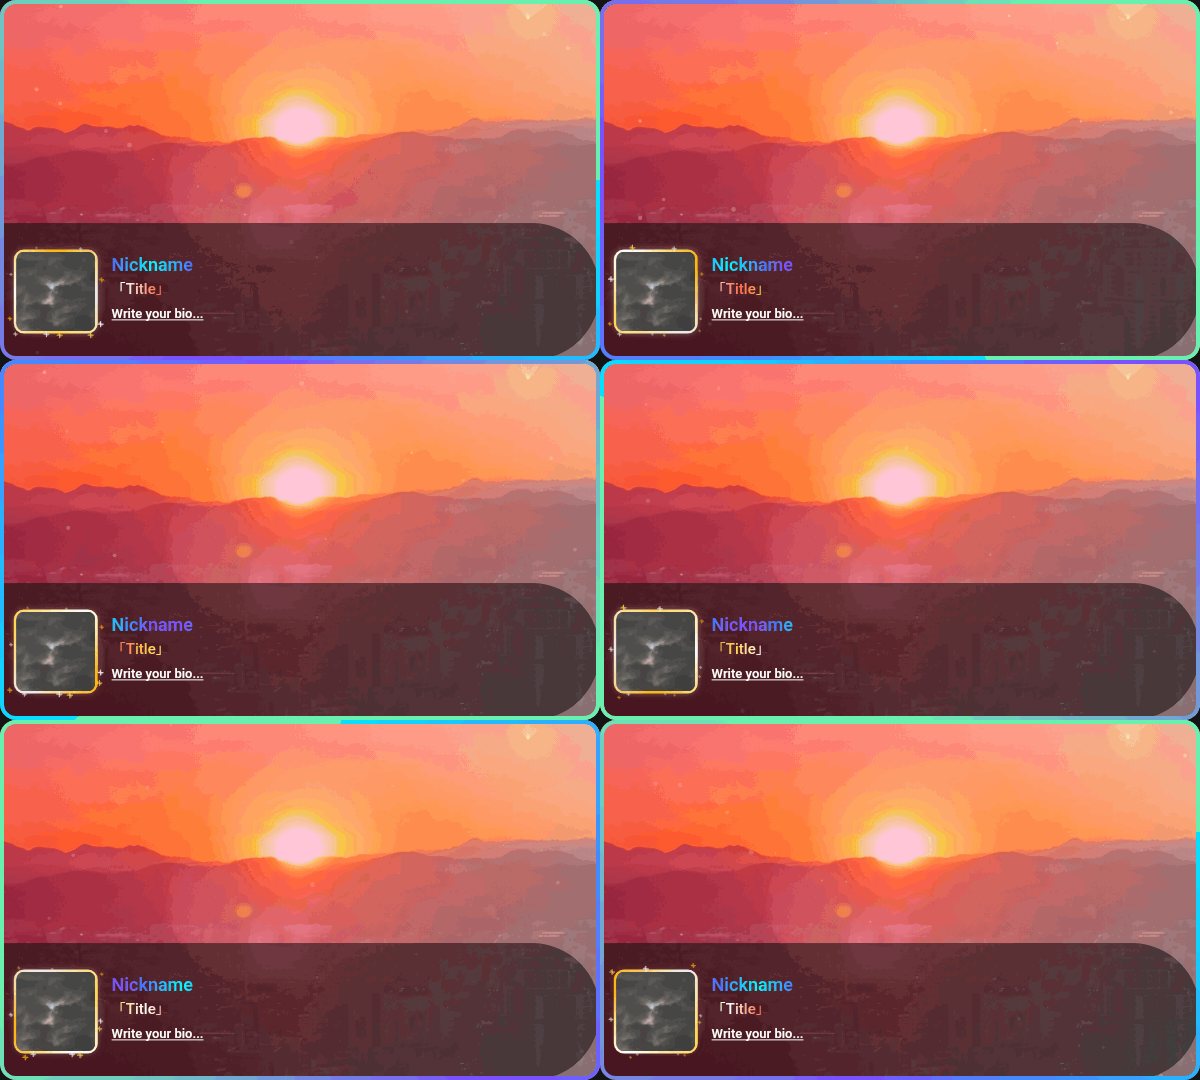
1. Basic workflow
Follow this order from start to finish.
- Canvas size: pick a preset or enter width and height in pixels.
- Upload images: add banner and profile photos. PNG/JPG/WebP open the crop dialog; GIF and animated WebP apply without cropping.
- Text and style: enter nickname, title, bio (or free text in banner mode), then set weight, fonts, shimmer, borders, and effects.
- Layout: choose a target in Text layout or Profile layout, then drag in the preview or enter X/Y and size values.
- Export: choose PNG/JPG/GIF and download, or export individual layers or a ZIP.
2. Choosing an editor mode
Pick the mode that matches what you are building.
- Card: game-style card with banner, info bar, and avatar. Switch between classic and clean layouts.
- Profile: profile banner focused. Rain and snow background effects and outer frame borders are available.
- Banner: horizontal banner with multiple free-form text fields via Add text.
3. Text, fonts, and shimmer
Configure built-in fields and extras under the Text section.
- Per-field weight, uploaded fonts (woff2/woff/ttf/otf), italic, and underline for nickname, title, and bio
- Text shimmer: enable the checkbox and add colors for a gradient animation
- Uploaded fonts register in the browser only; you may need to re-upload on another device
- Add text fields for custom labels and content (UI varies by mode)
- In the layout panel, select a target, drag or enter coordinates, and use Lock position to avoid mistakes
- Arrow keys move 1 px; Shift + arrow keys move 10 px
4. Borders, effects, and stickers
Decorative elements are under Border, Background effects, and Stickers.
- Profile border: none / solid / shimmer (colors and flow direction). Outer frame border applies to the full canvas.
- Custom border: upload a square PNG at the pixel size shown in the editor (see layer export notes for resolution).
- Background effects: rain and snow on profile and card banner areas; included in GIF export when animated.
- Stickers: upload an image, place and resize in the preview. GIF stickers are included in animated export.
5. Export formats
Choose format and options in the Export panel.
- PNG / JPG: still images when there is no motion or you want a static file.
- GIF: when shimmer, rain/snow, animated avatar, or GIF stickers are present. Supports 10/20/30/60 fps.
- Layer export: save banner, avatar, text, borders, etc. as separate files or a ZIP.
- Use View actual size for a 100% preview before saving.
6. JSON presets
Use presets to save and restore settings only.
- Copy the current settings from the Preset code (JSON) block.
- Paste JSON later and click Apply to restore colors, text, and layout.
- Original images and font files are not included—you must re-upload them after restoring a preset.
How to report bugs or contact us
Send email to the address below. Put "Bug" or "Question" in the subject line so we can triage faster.
- Browser and OS (e.g. Chrome 125 / Windows 11, Safari / iPhone)
- Steps to reproduce (mode, buttons, export format used)
- Screenshot if possible (blur personal photos or skip the attachment)
- JSON preset or console error text if you have it
Email: [email protected]
Images and fonts are processed only on your device. See the Privacy Policy (/privacy.html) for cookies and advertising.